View Time Card
To view / add / edit the child time card details,
- Click Child Time Card in the Main Menu page. The Child Search Results page will be displayed:
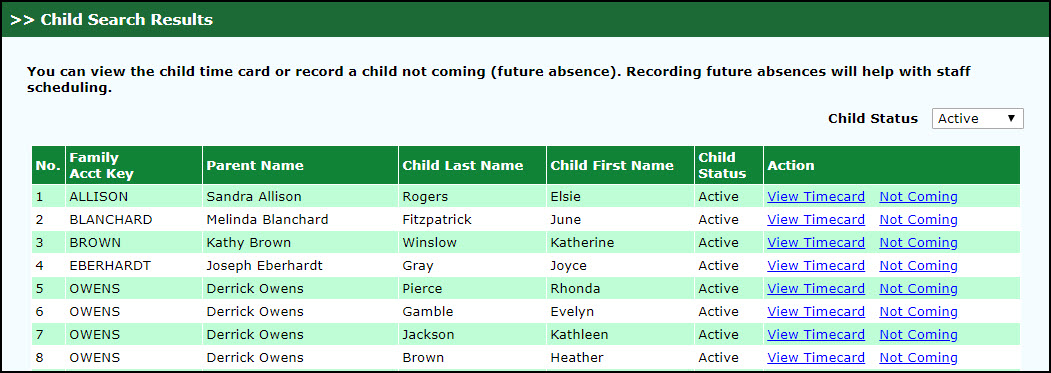
Child Search Results Page
- Click View Time card from the Action Column,the Child Time Card Details page 1 will be displayed.
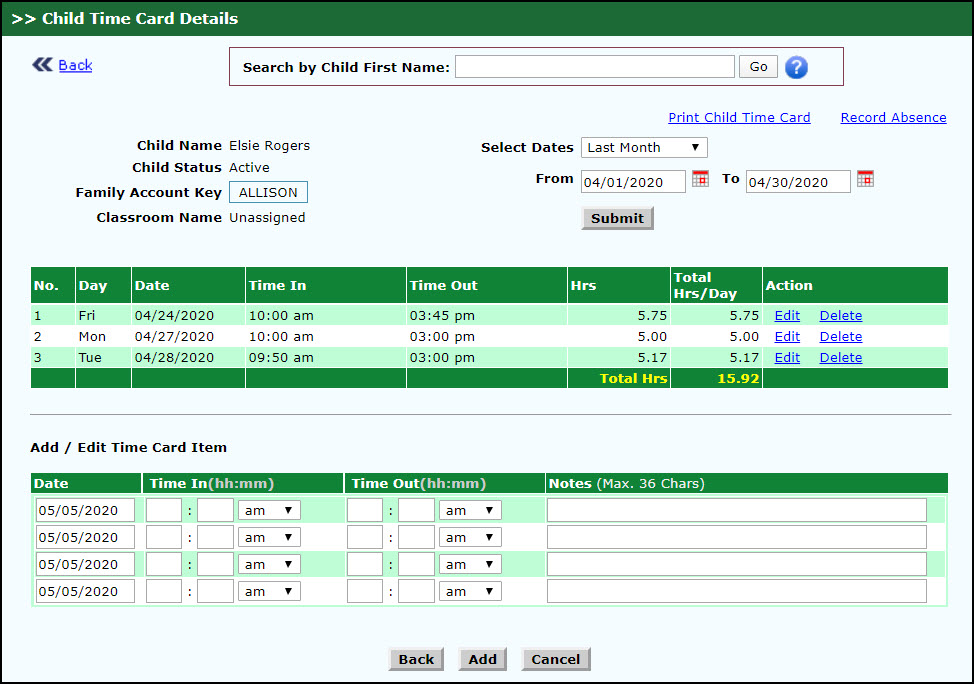
Child Time Card Details Page 1
The Child Time Card Details page 1 will be displayed as per the selected date in the filter section. If no records are found for the selected date, the page is displayed with an error message.
To add a new time card entry,
- Enter the date of time card in Date.
- Enter the signed in time.
- Enter the signed out time.
- Enter the notes up to maximum of 36 characters.
- Click Add to add the time card details. The entered time card entry will be added and displayed as a summary in the page. To return to the Child Search Details page, click Back. To reset the page with default values, click Cancel.
To edit the time card entry,
- Click Edit to edit the child card details. The Child Time Card Details page 2 will be displayed with the details of the selected record.
Note: By default the child card details will be displayed for the current week. The user can change the period by selecting it from the available options.
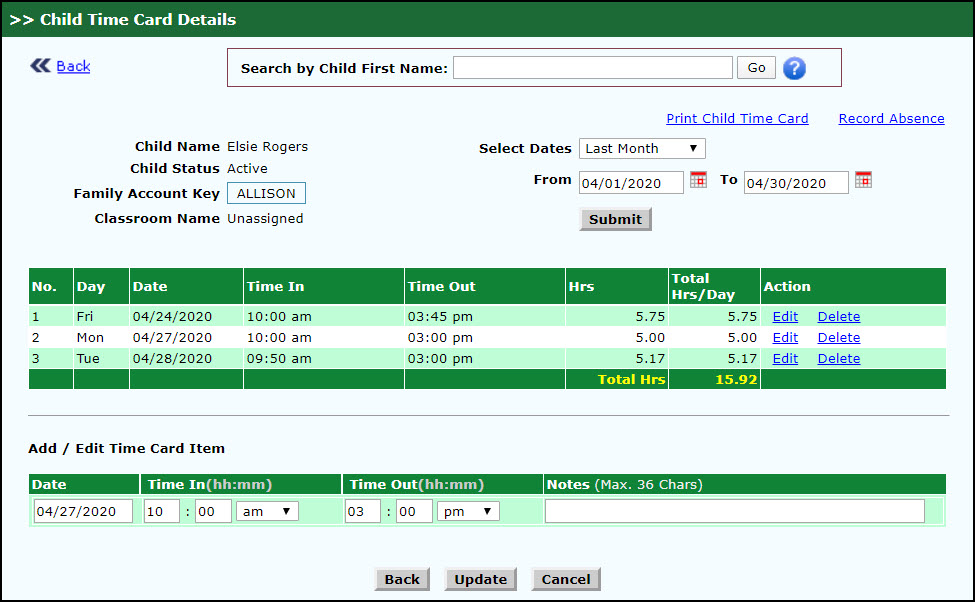
Child Time Card Details Page 2
- Enter the signed in time.
- Modify the required details.
- Click Update to update the changes.
- To return to the Child Search Details page, click Back. To reset the page with default values, click Cancel.
- To delete the record, click Delete.
- In confirmation pop-up window, click OK to delete the added card details. Else click Cancel to come back to the child time card details page 1.
- To view the entered notes, click Notes. The Notes Window will be displayed.
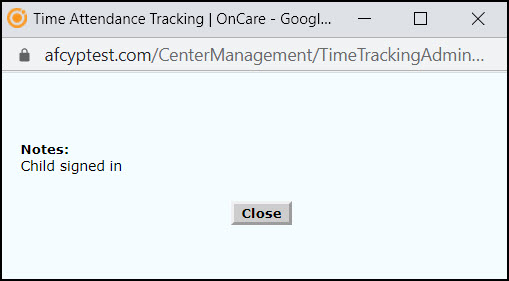
Notes Window
- To print the child card details, click Print Child Time Card.
- Need to select the Report Type.
- Click Submit.