Session Setup
The session has to be setup for the created Camp / Instructional Classes. User can create a multiple sessions for a single Camp / Instructional Classes.
To work with sessions,
- Click Session Setup in the Settings Page, the Session Setup Page 1 will be displayed:
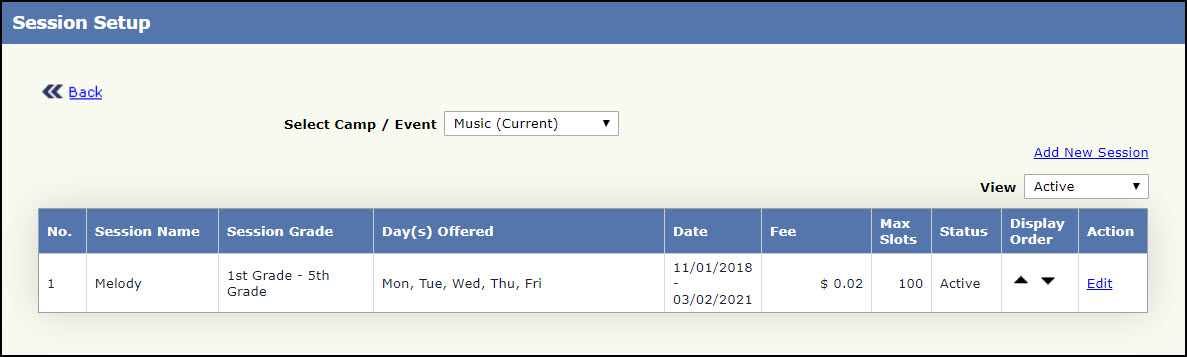
Session Setup Page 1
- Select the specific camp from the Select Camp / Instructional Classes list to view its session(s).
- Select the specific status from the View list to filter sessions based on Status.
- Click the up/down arrow buttons in Display Order to set the display order of various sessions in the Camp.
To add a new session,
- Click Add New Session to create the session for the selected Camp, Session Setup Page 2 will be displayed:
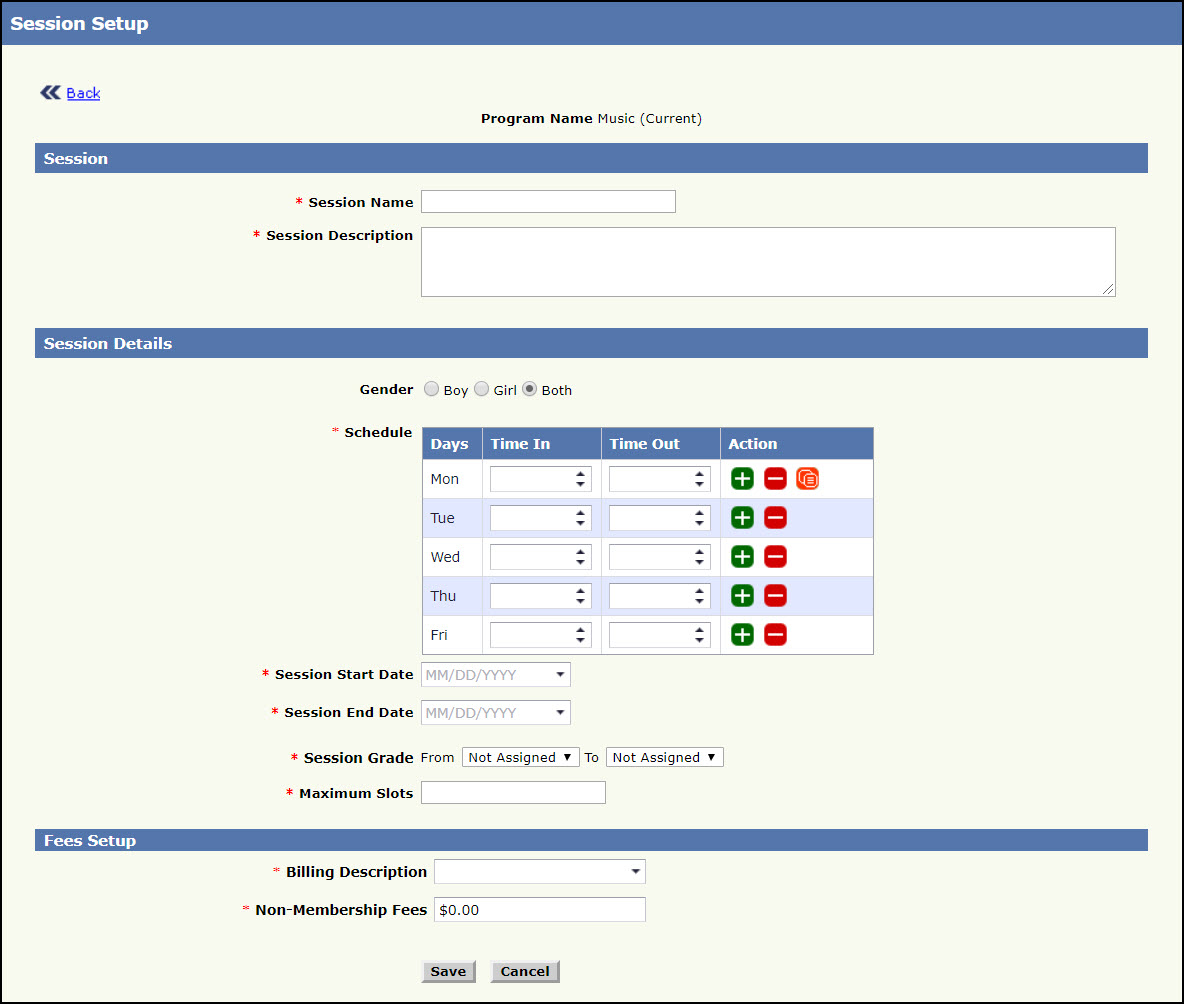
Session Setup Page 2
- Enter Session Name.
- Enter Session Description.
- Select the Gender.
- Enter the Time In and Time Out for the schedule against the respective Day.
- Click
 to copy the same time entries to all the days. To Add another row for that particular day, click
  . To delete that particular row, click
  .
.
- Select Session Start and End date.
- Select Session Grade / Age Group.
Note: While creating the Camp / Instructional Classes as per the preferred settings of Grade / Age Group will be displayed here.
- Select the Maximum Slots
- Select the description form the Billing Description.
- Enter the Non-Membership and Membership fee .
Note: All the text fields are Mandatory except Gender.
- Click Save, the success message will be displayed for the setup saved successfully.To return to the Session Setup Page 1, click Cancel.
To Edit the Session Setup,
- Click Edit in the Session Setup Page 1. Session Setup Page 3 will be displayed:

Session Setup Page 2
- Modify the required details in the Session Setup.
- Click Save , the success message will be displayed.To return to the Session Setup Page 1, click Cancel.